> For the complete documentation index, see [llms.txt](https://flamingo-1.gitbook.io/user-guide/llms.txt). Markdown versions of documentation pages are available by appending `.md` to page URLs; this page is available as [Markdown](https://flamingo-1.gitbook.io/user-guide/all-user-guides/flamingo-fusd-pool-bonus.md).
# Flamingo FUSD Pool Bonus
In this section we walk you through how to get a Pool Bonus with FUSD pools.
This section describes the step-by-step process of getting a **Pool Bonus** with FUSD liquidity pools. To learn more about why **Pool Bonus** is a beneficial feature to aid the FUSD protocol, please read [Flamingo Lend Targeted Incentives](/user-guide/flamingo-lend-targeted-incentives.md).
**NOTE:** Numbers and figures in this tutorial represent testing data only and may not accurately represent current figures.
## Get an FUSD Pool Bonus
To get a **Pool Bonus**, you will need:
* A computer (Mac or PC) connected to the internet
* An internet browser (like [Google Chrome](https://www.google.com/chrome/downloads/))
* An installed [Neo wallet](https://neo.org/neogas#wallets) (in this guide we will be using the [Neon wallet](https://neon.coz.io/))
* A small amount of NEO N3 GAS tokens for making transactions with Flamingo
* Collateral assets such as FLUND, bNEO, and/or fWBTC
* [Borrowed FUSD](/user-guide/modules/lend/flamingo-lend.md)
* FUSD staked in a liquidity pool
1\. If you haven't already, [set up a Neo wallet](https://flamingo-1.gitbook.io/user-guide/v/master/user-guides/how-to-set-up-a-neo-wallet).
2\. Go to [Flamingo.Finance](https://flamingo.finance/earn/overview) > **Asset Actions.**
3\. Select **Connect Wallet** > **NEON**.
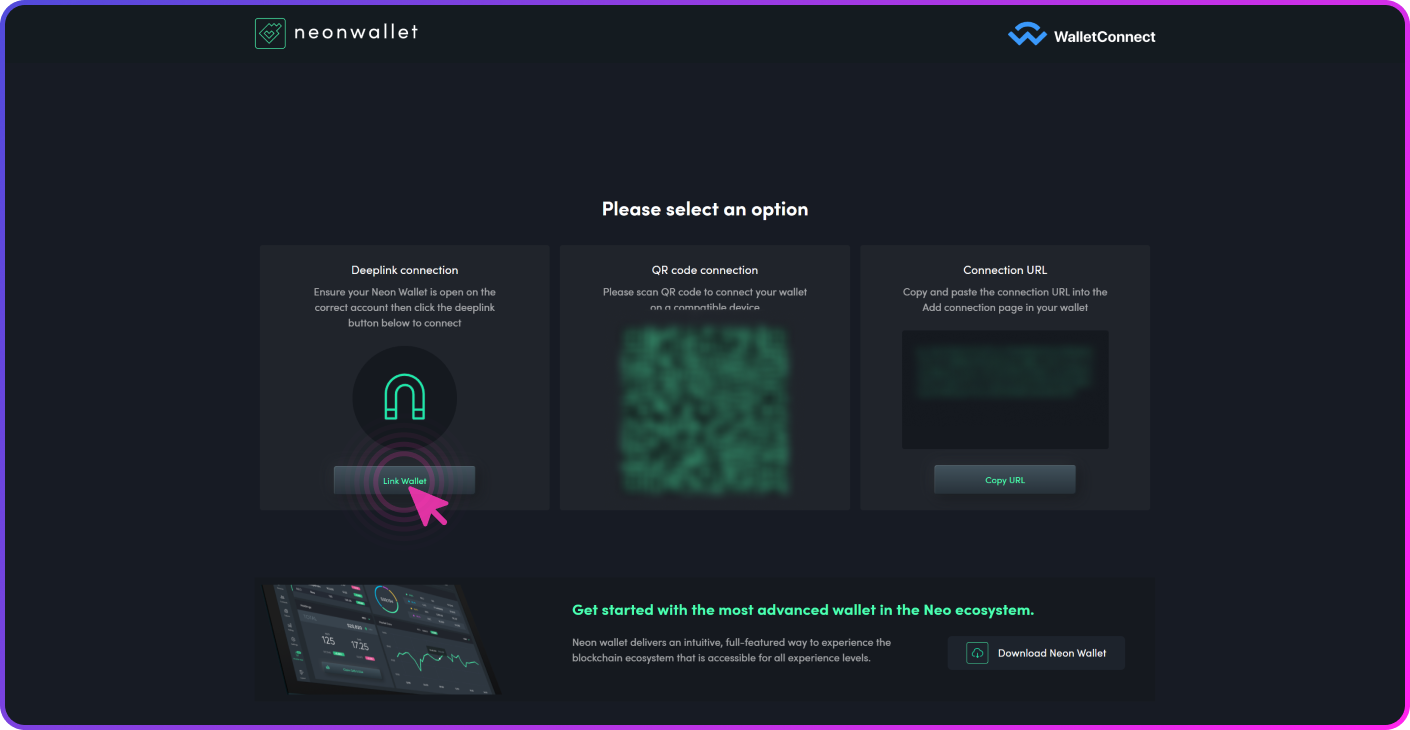
4\. There are several ways to connect your **NEON** wallet to the platform. You can either **Link your wallet**, **scan a QR code** or **copy and paste the connection URL** into the **add connection** page in your wallet. For this example, we have chosen **Link Wallet** with the **Deeplink connection**. The browser will ask you if you would like to accept Neon to make a connection. Select **Yes**.
5\. You are now prompted with the **NEON** wallet connection window. Select the **green checkmark**.
6\. Your wallet is now connected. Return to Flamingo and on the **Asset Actions** tab, select **Pool Bonus**.
7\. To allocate your borrowed FUSD Bonus APR, input the percent allocation of your borrowed FUSD to the pools of your choice. For this example we will allocate 100% of our borrowed FUSD to the FLP-fUSDT-FUSD pool for an estimated APR boost of 11%. Select **Update Allocation**.
8\. Open your **NEON** wallet and select the green arrow to confirm the transaction.
9\. Your transaction is pending. Go back to Flamingo.
That's it! Your **Pool Bonus** allocation has been updated and you are now receiving bonus APR on your selected pools.